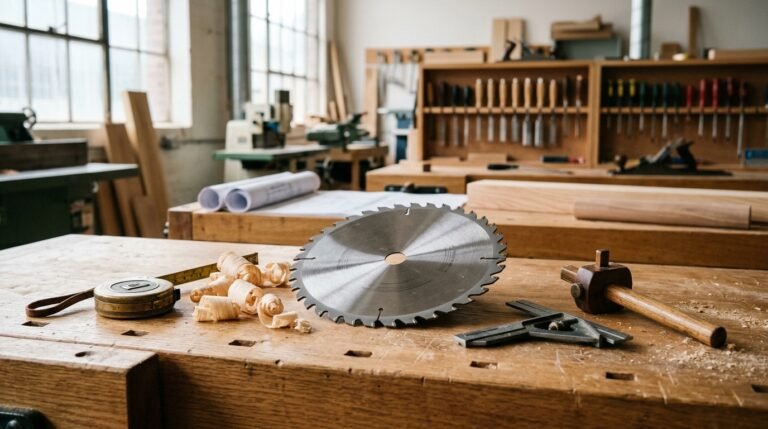
Chipped or broken woodworking cutters are one of the most frustrating problems in CNC woodworking and manual woodworking operations. A single chip can ruin a workpiece, slow down production, and increase tool replacement costs.
At ZC-TOOLS, we’ve tested hundreds of cutters under real workshop conditions and found that most chipping issues can be traced back to a few controllable factors. In this guide, we’ll share the 10 most common causes of woodworking cutter chipping — and how to fix them.

1. Incorrect Feed Rate
Running your cutter too fast or too slow can cause excessive pressure on the cutting edge.
- Too fast → The cutter bites too deeply, causing vibration and edge fracture.
- Too slow → The cutter rubs instead of cutting, generating heat and micro-cracks.
Solution:
Find the right balance between spindle speed (RPM) and feed rate.
For MDF and plywood, a feed rate of 4–6 m/min at 18 000–22 000 RPM is usually optimal.
🔧 ZC-TOOLS Tip: During our internal tests, proper feed adjustment reduced chipping rate by over 30%.
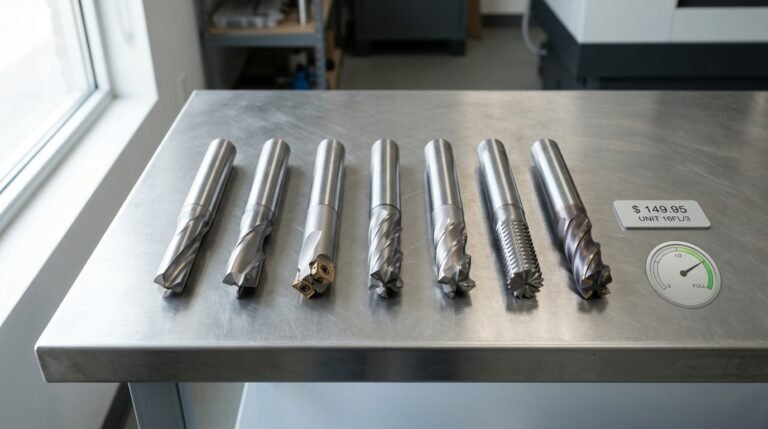
2. Using the Wrong Cutter Material
Not all materials behave the same. Low-grade HSS or carbon steel cutters dull quickly on engineered wood and laminate boards.
Solution:
Use carbide-tipped or solid carbide cutters for medium-hard and abrasive materials.
For high-speed production, diamond-coated cutters can extend tool life 3–5 × longer.
3. Excessive Cutting Depth
Many operators try to remove too much material in one pass to save time.
This dramatically increases stress on the cutting edge and causes chipping, especially on brittle carbide.
Solution:
Reduce cutting depth to ≤ 1/2 of the cutter diameter per pass, and perform multiple passes for thicker stock.
4. Poor Clamping or Machine Vibration
If the workpiece or tool holder vibrates, even the best cutter will chip.
Solution:
- Check collet wear and clean it regularly.
- Ensure the workpiece is fixed firmly to the CNC table.
- Balance the spindle and tool before operation.
🧩 Based on ZC-TOOLS‘ experience in CNC tool balancing, unstable collets are responsible for up to 25% of cutter failures we’ ve seen in workshops.
5. Incorrect Tool Path Programming
Aggressive entry angles, sudden direction changes, or improper lead-in/lead-out in your CNC tool path can cause shock loads on the edge.
Solution:
Use ramp-in or helical entry instead of straight plunging.
Smooth transitions reduce sudden stress and extend edge life.
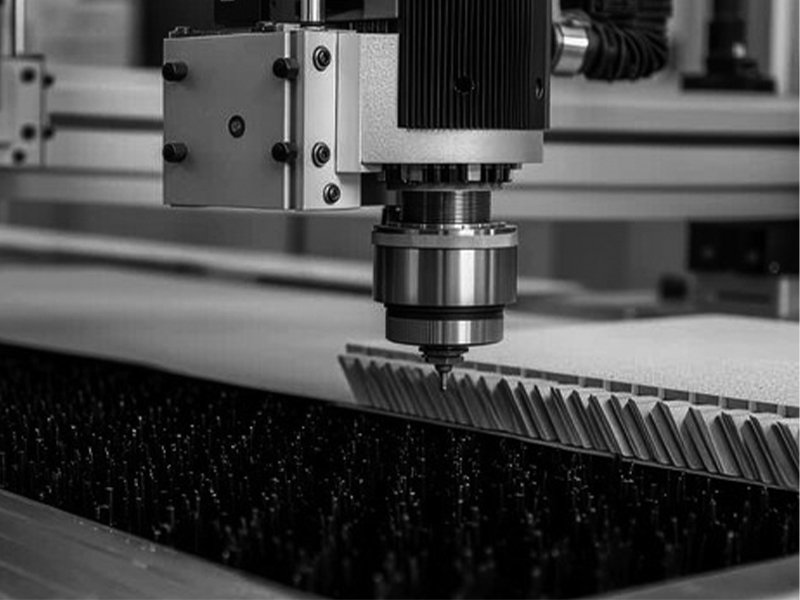
6. Overheating from Insufficient Chip Removal
If chips aren’t evacuated effectively, friction and temperature rise quickly — carbide edges soften and chip.
Solution:
- Use up-cut or compression bits for better chip evacuation.
- Ensure vacuum or dust collection is clean and efficient.
- Consider air cooling for long runs.
7. Dull or Re-sharpened Cutters Used Too Long
Many operators continue using a dull cutter to “get one more job done.”
This always leads to micro-chipping and poor surface finish.
Solution:
Establish a replacement or re-grinding schedule based on operating hours, not just feel.
Inspect under a microscope if possible — tiny chips grow rapidly under vibration.
🧠 ZC-TOOLS Recommendation: Keep spare sets ready and rotate them on schedule; sharp tools protect your machines and your profit margin.
8. Wrong Cutter Geometry for the Material
Different materials require different flute designs and rake angles.
Using a wrong geometry increases cutting resistance and edge wear.
Solution:
- Softwood: Use high rake angle cutters.
- Hardwood: Use smaller rake angle and thicker edge.
- Laminates / MDF: Use compression or spiral bits with chip-clearing flutes.
9. Improper Storage and Handling
Cutter edges are delicate — dropping them or letting them touch each other causes micro-damage even before use.
Solution:
Store each tool separately in its case or a soft-foam rack.
After cleaning, lightly oil steel shanks to prevent corrosion.
10. Using Incorrect Spindle Speed
Running a cutter beyond its designed speed creates excess heat and centrifugal stress, leading to cracks.
Solution:
Always check the manufacturer’s recommended RPM range.
If you notice burning marks on the wood, lower the speed and increase the feed slightly.
Bonus Tip: Check Material Quality
Sometimes the problem isn’t the tool — it’s the wood.
Cheap or recycled panels often contain glue pockets, metal staples, or hard resin spots that can chip even premium cutters.
Inspect every batch before machining.
Summary Table: Common Causes and Fixes
| Cause | Effect | Quick Fix |
|---|---|---|
| Wrong feed rate | Heat or overload | Adjust feed/RPM |
| Poor clamping | Vibration | Re-tighten, balance |
| Dull edge | Micro-chipping | Replace or sharpen |
| Wrong geometry | Edge fracture | Use proper flute type |
| Overheating | Brittle edge | Improve chip evacuation |
| Incorrect material | Rapid wear | Use carbide or diamond |
Conclusion
Cutter chipping is not inevitable — it’s often preventable with the right setup, feed rate, and maintenance routine.
By controlling vibration, temperature, and material matching, you can easily extend tool life by 50–100%.
At ZC-TOOLS, we continuously test and improve our woodworking cutters to help manufacturers achieve cleaner cuts and longer lifespan in every application.
If you’re facing chipping issues or need guidance on the best tool geometry for your materials, our technical team is ready to help.
👉 Contact ZC-TOOLS for customized cutter recommendations and feed rate optimization support.