A single interior door requires between 12 and 18 distinct cutting operations—from ripping rough lumber to width, through mortise-and-tenon joinery, all the way to final hinge recessing. Getting each of those cuts right depends almost entirely on selecting the correct door making woodworking cutting tools for the job, matching blade geometry, tooth count, and tool type to the specific wood species and joint profile you’re working with. This guide breaks down every cutting tool you’ll need at each stage of door construction, whether you’re outfitting a small custom shop or scaling up a production operation.
The Door Making Process and Where Cutting Tools Matter Most
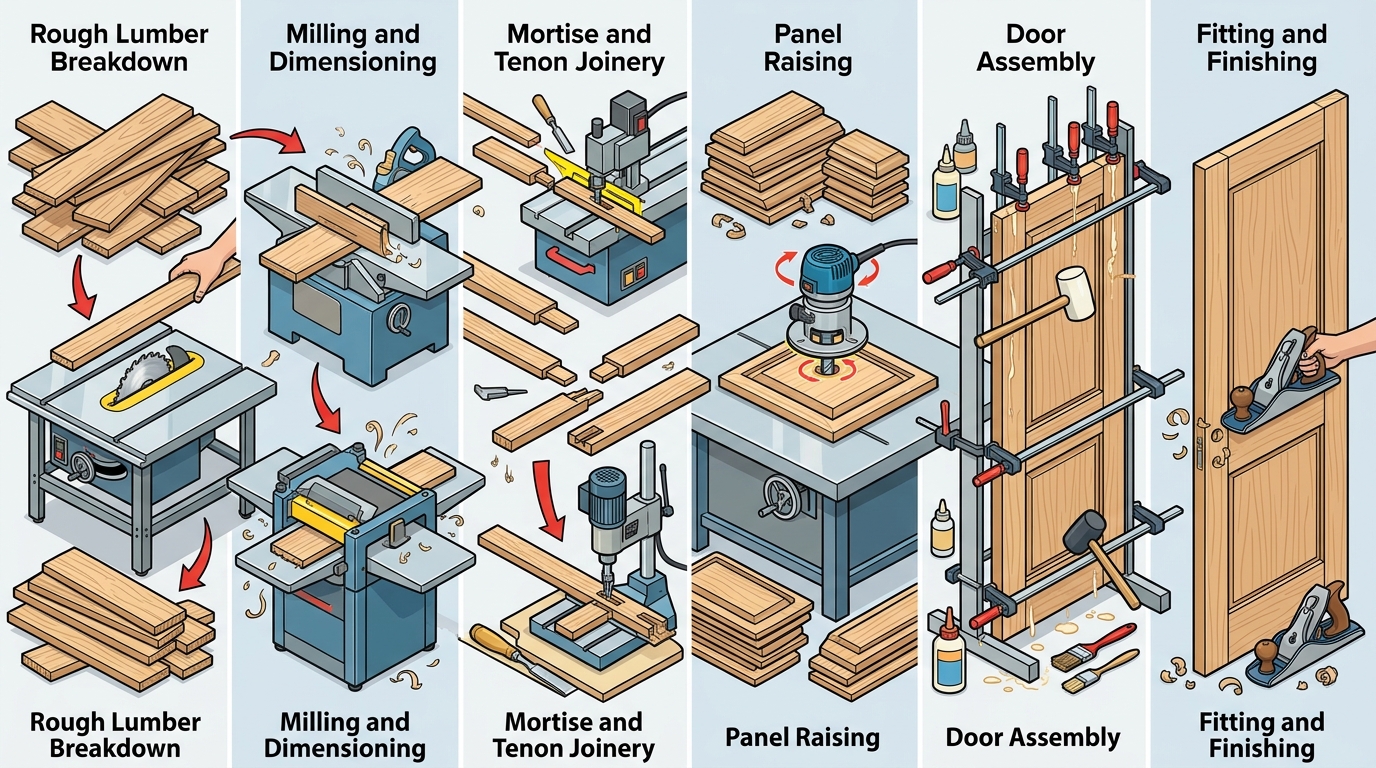
Building a wood door follows a predictable sequence, and each stage demands a different cut. It starts with rough lumber breakdown — ripping wide boards to approximate width on a table saw, then crosscutting to rough length. Tolerances here are loose, usually 1/2″ to 1″ oversize, but a dull or poorly chosen blade at this stage introduces twist and tear-out that haunts you through every step that follows.
Next comes dimensioning: jointing faces flat, planing to final thickness (typically 1-3/8″ for interior doors, 1-3/4″ for exterior), and ripping stiles and rails to their finished widths. The cutting happens fast, but precision matters down to 1/64″. After dimensioning, joinery takes over — mortise-and-tenon cuts for frame-and-panel doors, or cope-and-stick profiles run on a shaper or router table. This is where your door making woodworking cutting tools earn their keep, because sloppy joints mean a door that racks, binds, or falls apart within a season.
Panel raising follows for traditional designs, requiring specialized cutters that shape the bevel on solid wood panels. Then comes assembly, glue-up, and the final fitting stage — trimming the door to its opening with a hand plane or track saw, routing hinge mortises, and boring lock hardware holes. Each of these operations relies on a specific cutter geometry. Skip the right tool at any point, and you’re sanding out problems instead of building quality in.
The Wood Magazine editors have long emphasized that door construction exposes every weakness in your tool setup. That tracks. A cabinet with a hidden back panel forgives a rough edge; a door hangs in plain sight, touched daily, judged constantly.
Essential Power Cutting Tools for Door Construction
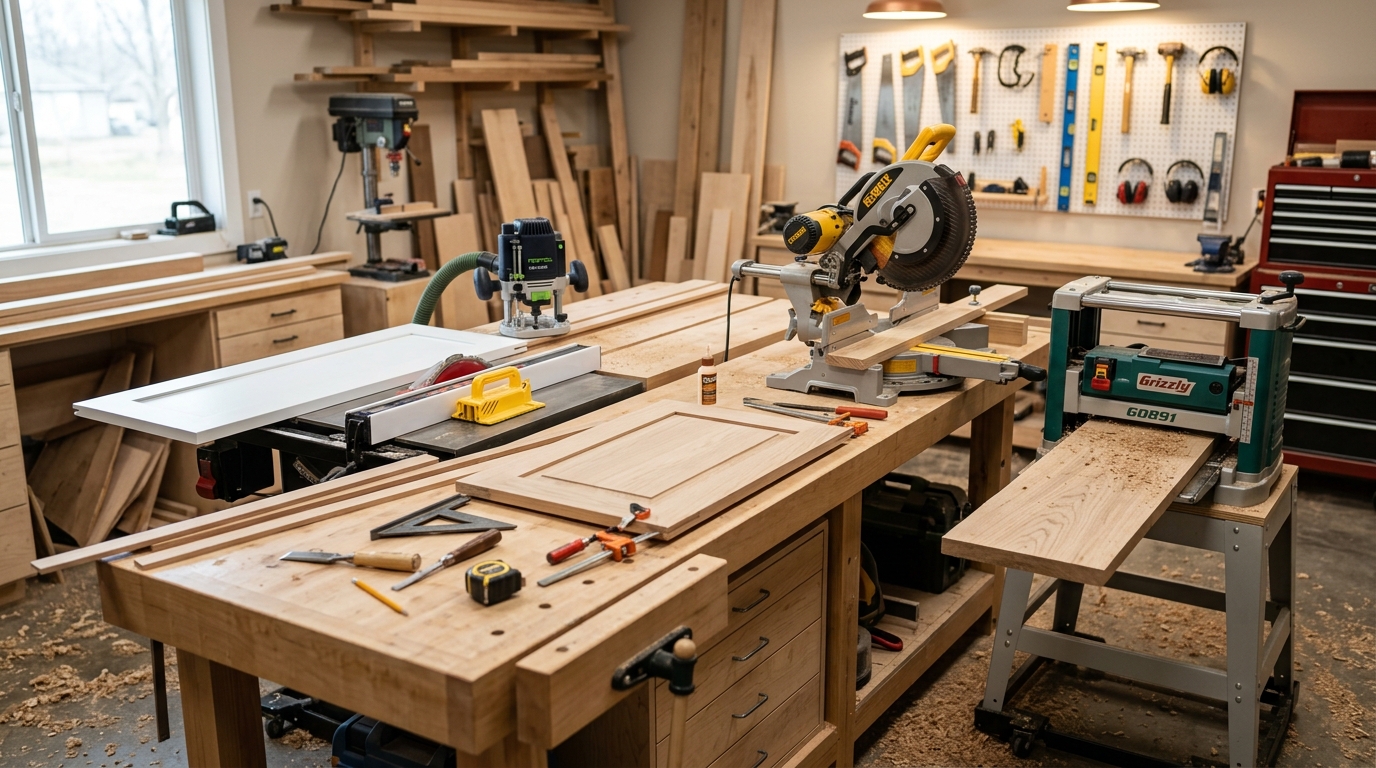
Four power tools handle roughly 90% of the cutting work in a door shop. Get these right, and every joint closes tight.
A table saw is your primary tool for ripping stiles and rails to width. For door work, you want a cabinet saw with at least 3 HP and a 10-inch blade — anything less struggles with hardwoods thicker than 1-3/4 inches. A 40-tooth ATB blade delivers clean rip cuts in oak and maple without excessive tearout. The rip fence matters more than most people realize; even 1/32-inch drift across a 7-foot stile creates a visible gap at assembly.
The miter saw handles crosscutting rails and muntins to precise length. A 12-inch sliding compound miter saw covers stock up to about 6 inches wide in a single pass. Accuracy here is non-negotiable — rail lengths directly control the door’s final width.
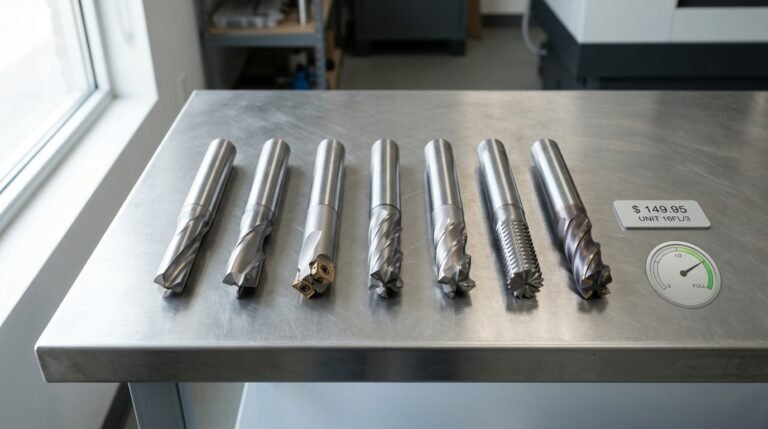
A router, paired with the right bits, cuts panel profiles, raises panels, and plunges mortises. A 3-1/4 HP fixed-base router with 1/2-inch collet gives you the torque for large cope-and-stick bit sets. If you’re exploring bit geometry in more detail, this guide on spiral vs straight router bits breaks down the tradeoffs clearly.
Finally, a thickness planer dimensions rough stock to uniform thickness before any joinery begins. A 13-inch benchtop planer works for small shops, but a 15-inch helical-head model reduces snipe and handles wider panels. These door making woodworking cutting tools form the backbone of any serious door-building workflow — skip one, and you’ll feel the bottleneck immediately.
Hand Cutting Tools Every Door Maker Should Own
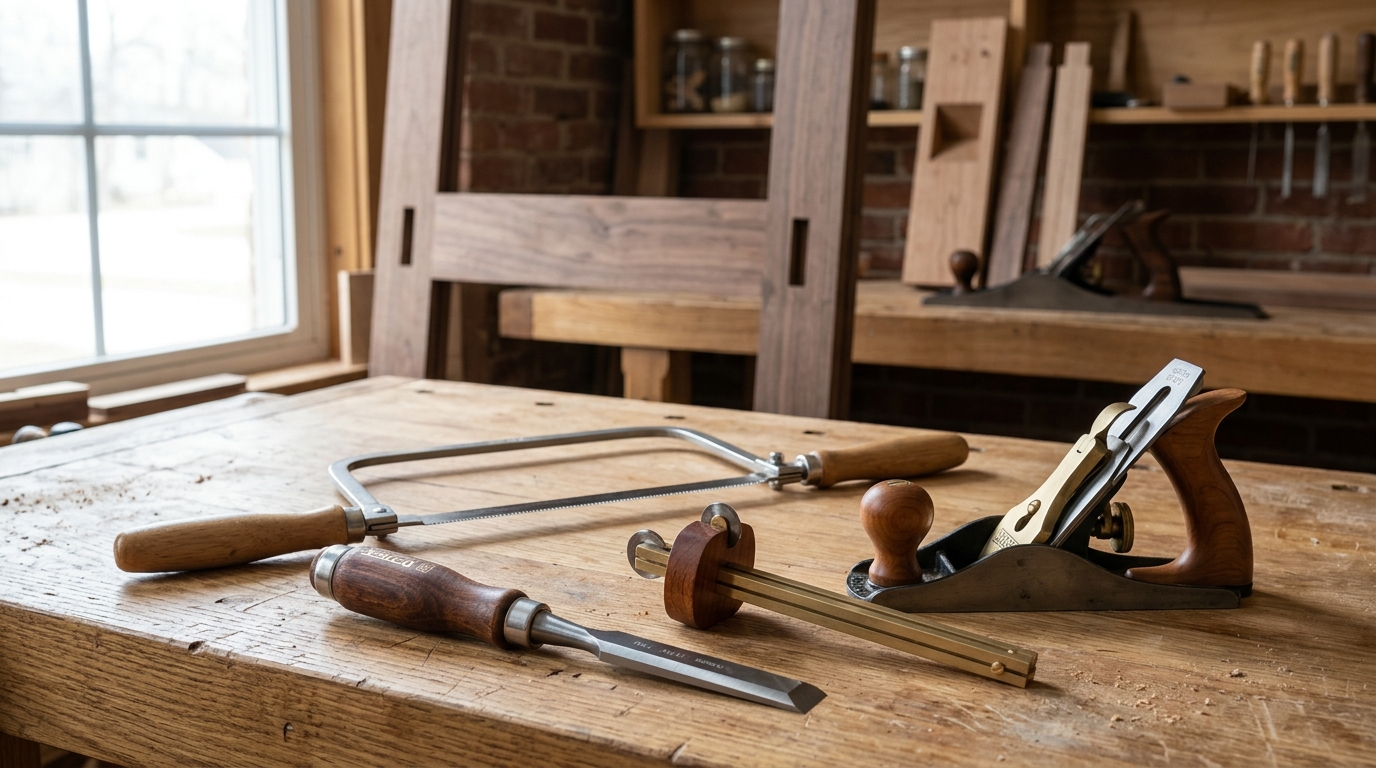
Power tools do the heavy lifting, but hand tools do the thinking. A router can hog out a mortise in seconds—yet the corners stay rounded. That’s where a sharp 3/8″ mortise chisel steps in, paring each corner square with a few controlled mallet strikes. For door making woodworking cutting tools, this handwork is what separates a sloppy joint from one that closes tight with zero gaps.
A well-tuned block plane is equally non-negotiable. After a door is dry-assembled, you’ll almost always need to shave 1/32″ off a stile edge or ease a rail shoulder that sits proud. A No. 60-1/2 low-angle block plane handles end grain on rail tenons without tearout, something no sander can replicate cleanly. Keep the blade honed to at least 8,000 grit and set the mouth tight—you want translucent shavings, not chips.
Marking gauges and coping saws round out the essentials. A wheel-style marking gauge scribes consistent mortise lines directly from your reference face, eliminating the cumulative error of measuring with a tape. A coping saw, meanwhile, lets you cut the waste from a cope joint or trim a panel profile where a jigsaw would be too aggressive. Popular Woodworking has long maintained that these four hand tools—chisel, plane, gauge, and coping saw—belong in every serious door shop, and that advice holds up.
If you’re still building your hand tool collection, our guide on essential cutting tools every beginner should own covers selection criteria in more detail. The bottom line: machines get you to 95% accuracy. Hand tools close the last 5%, and that margin is exactly what makes a door hang properly and last for decades.
How to Choose Cutting Tools Based on Door Style and Wood Type
A five-panel oak door and a flush pine door have almost nothing in common at the tool bench. The joints differ, the grain fights back differently, and the wrong blade will either burn the wood or leave tearout you can’t sand away. Matching your door making woodworking cutting tools to the specific job saves material, time, and a lot of frustration.
Door Style Dictates the Tool Profile
Panel doors need cope-and-stick router bit sets to shape the stile-and-rail joints and create the panel grooves — typically a matched pair running at 10,000–12,000 RPM on a table-mounted router. Flush doors are simpler: straight cuts on the table saw and edge trimming dominate, so a quality 60-tooth crosscut blade handles most of the work. French doors add glass rabbets into the mix, which calls for a rabbeting bit with interchangeable bearing sizes (commonly 1/4″, 5/16″, 3/8″, and 1/2″ depths).
How Wood Species Changes Everything
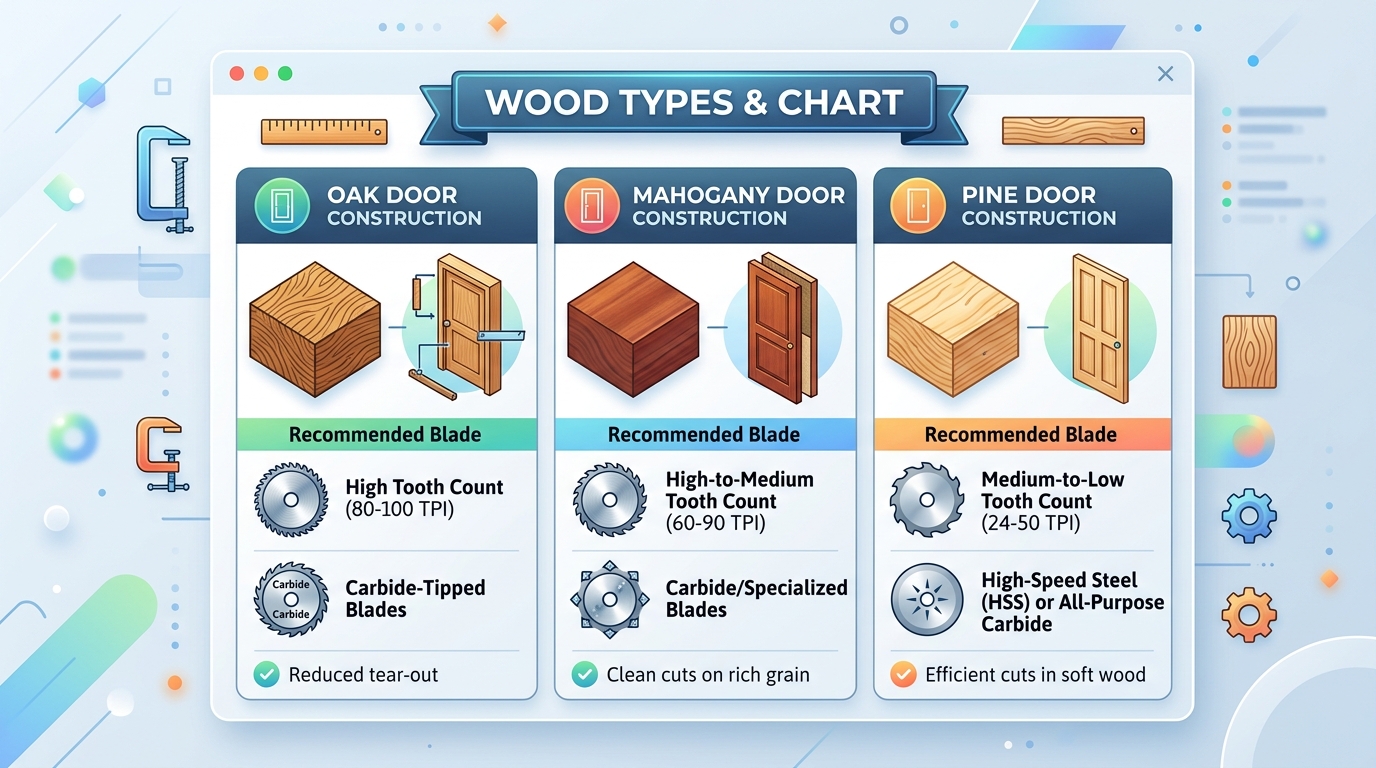
Hardwoods like oak and mahogany demand carbide-tipped or even polycrystalline diamond (PCD) tooling. A 40-tooth ATB blade ripping white oak at a feed rate of 15–20 feet per minute stays clean; push it faster and you’ll see burn marks on every cut. Softwoods like pine are forgiving on blade material but punish you with tearout if the tooth count is too low — step up to 80 teeth for crosscuts on pine stiles. For a deeper breakdown of blade selection by material, check out this guide on choosing the right saw blade for wood.
One rule holds across every species: sharper teeth at lower feed rates always beat dull teeth pushed hard. Budget for resharpening every 50–80 hours of cut time on hardwoods, roughly double that for softwoods.
Budget-Friendly vs Professional Tool Setups for Door Making
Money spent on door making woodworking cutting tools falls into two buckets: what you need right now and what pays for itself over time. A hobbyist building 2–3 custom doors a month can get started with roughly $800–$1,200 in tools. A commercial shop producing 20+ doors per week needs $5,000–$12,000 in cutting equipment just to keep pace with demand.
The Starter Setup (Under $1,200)
A contractor-grade table saw like the DeWalt DWE7491RS ($600–$650) paired with a mid-range plunge router ($180–$220) covers most of the critical cuts. Add a decent miter saw in the $250 range, a set of HSS router bits ($60–$80), and a quality 40-tooth combination blade, and you’re operational. The weak link here is longevity — HSS bits dull fast on hardwoods, and contractor saws lack the fence rigidity needed for dead-straight rip cuts on 8-foot stiles.
The Professional Jump
Where should you invest first when scaling up? The table saw. A 3–5 HP cabinet saw with a cast-iron top ($1,800–$3,500) eliminates flex and vibration that create cumulative errors across dozens of doors. Carbide-tipped tooling is the second priority — a quality industrial-grade blade and bit set runs $300–$500 but lasts 8–10× longer than budget alternatives. According to Fine Woodworking, carbide tooling typically pays for itself within 6 months in a production environment through reduced downtime alone.
Where to Save, Where to Splurge
Skip the premium miter saw — a $300 slider handles door rail crosscuts just as accurately as a $700 model for most operations. Spend heavily on blades and bits instead. Cheap tooling burns wood, forces extra sanding, and eats into your margin on every single door. That’s the real cost nobody puts on the receipt.
Safety Practices When Using Cutting Tools for Door Joinery
Door stiles and rails are long, heavy, and awkward. That combination creates hazards generic shop safety guides never address. A 7-foot oak stile binding mid-cut on a table saw generates enough kickback force to fracture ribs — this isn’t hypothetical. The U.S. Consumer Product Safety Commission estimates table saws cause over 30,000 emergency room visits annually, and long rip cuts rank among the highest-risk operations.
Use a splitter or riving knife. Always. When ripping stiles from rough lumber, the internal stress in the wood can pinch the blade and launch the workpiece backward at speeds exceeding 100 mph. Outfeed support matters just as much — a roller stand or a helper prevents the trailing end from dipping and catching the back teeth of the blade.
Router safety during deep mortise work deserves its own conversation. Plunging a 1/2-inch spiral bit to full depth in a single pass is asking for a seized cutter and a wrenched wrist. Take multiple passes at 1/4-inch increments. Clamp the workpiece to a sturdy bench — never hand-hold a door rail while routing. For more on bit selection that affects both cut quality and safety, see this guide on spiral vs straight router bits.
Dust extraction isn’t optional when your door making woodworking cutting tools run for hours on hardwood. Fine oak and mahogany dust is a Group 1 carcinogen. Connect a dust collector with at least 600 CFM to your table saw and router table, and wear a P2/N95 respirator for handheld operations. Hearing protection at 85 dB or above — which every router exceeds — prevents cumulative damage that shows up decades later.
Common Cutting Mistakes in Door Making and How to Avoid Them
Tearout on cross-grain rail cuts is the single most common defect. It happens when the blade exits the wood with nothing supporting the fibers. Fix it by backing every crosscut with a sacrificial fence clamped flush to the workpiece edge, or score the cut line first with a marking gauge. A high-tooth-count blade (80T on a 10″ miter saw) also reduces tearout dramatically on hardwoods like oak and maple.
Tenon shoulders that aren’t square ruin the entire frame. The usual cause? A dado stack that isn’t shimmed properly, or a miter gauge with 0.5° of drift the operator never checked. Use a precision square against the blade body—not the teeth—before every batch. A dedicated tenoning jig bolted to the table saw fence removes most human error from the equation, and it pays for itself after two doors’ worth of saved material.
Panel groove misalignment shows up when the router bit or slot cutter isn’t centered on the rail’s edge. Even 1/32″ off-center creates a visible step at the joint. The solution is simple: run the cut, flip the piece, and run it again. This self-centering technique works with any door making woodworking cutting tools setup. For deeper guidance on choosing bits that minimize these issues, see this spiral vs straight router bit comparison.
Hinge mortises cut too deep cause the door to bind. Too shallow, and the gap is uneven. Set your router depth stop against a test block of the exact hinge leaf thickness—don’t rely on the scale printed on the plunge mechanism. As Fine Woodworking editors have noted, a difference of just 1/64″ in mortise depth can shift the reveal enough to require re-hanging.
Frequently Asked Questions About Door Making Cutting Tools
What is the best saw for cutting door frames?
A 10-inch sliding compound miter saw with a 60-tooth or 80-tooth crosscut blade handles door frame cuts cleanly and quickly. The sliding action gives you enough crosscut capacity for wide casing stock, and the compound bevel lets you nail inside and outside miters without repositioning. For a deeper look at blade selection, check out this guide on choosing the right saw blade for wood.
Can you make doors with only hand tools?
Yes—but expect a door to take 20–40 hours instead of 3–5. You’ll need a rip saw, a crosscut saw, a jack plane, a router plane, and a set of mortise chisels at minimum. The results can be exceptional. The timeline, though, makes it impractical for anything beyond a single custom project.
What router bits are needed for raised panel doors?
Three bits cover the job: a rail-and-stile set (matched cope-and-stick profiles), a raised panel bit (typically 3-1/4 inch diameter, run at around 12,000 RPM), and a straight bit for mortises if you skip the cope joint. Carbide-tipped bits are the baseline; solid carbide lasts roughly 3× longer in hard maple or white oak.
How often should blades be replaced in a production door shop?
Most production shops resharpen carbide table saw blades every 80–120 running hours, according to guidelines from the Woodworking Network. Router bits dull faster—expect 40–60 hours in dense hardwoods. A blade can typically handle 8–10 resharpenings before the carbide tips are too thin to hold a profile. Keeping a rotation of door making woodworking cutting tools on hand eliminates downtime between sharpening cycles.